Showing posts with label DIY. Show all posts

Friday, August 25, 2017

Macrame

I've been tinkering with macrame for a few weeks now. I saw a video of a home designed in a Boho chic style and the room was decorated with macrame curtains and wall decors. After a few searches, I found a few simple macrame projects which I tried.

According to Dictionary, macrame is the art of knotting cord or string in patterns to make decorative articles. If you know how to tie a knot, you can do macrame.

Supplies


Since I live in the province, craft supplies are not that easily available. I bought my first rope in a general merchandise store in the market. You know, the store which sells bolo knives, gardening tools, bamboo cradles, and whatnots, you'll probably find a cotton rope there. 

I also bought some rope at a store where everything is P20 or less. It was the cheapest rope I bought but, when you cut the rope, you'll see that inside the rope, there are plastic fibers entwined with the cotton fibers. I didn't like using it.


I also found cotton ropes and other materials at Wilcon Depot. I prefer the 16-strand BRAIDED cotton rope (50ft = P72). The tried the SOLID rope, but it was tougher, a bit difficult to knot, and more expensive than the braided one.

Check out Hallmark's video, How to tie the basic knots of macrame, before embarking on a macrame journey.

Macrame Plant Hangers

For my first project, I chose a plant hanger. I found an easy tutorial in YouTube by WhatsUpMoms. The video said it's a 5 Minute Macrame Planters but I finished my project in 30 minutes! 

Since it was my first time to do macrame, I was very careful at measuring the rope and following the instructions. I shouldn't cut the rope too short nor too long for the project to avoid wastage. For quick measurement, one planter like this uses 32 ft of cotton rope (8ft per strand).

It was a fairly easy tutorial but I was being a perfectionist and wanted my first project to turn out well, that's why it took me half an hour to do a 5-minute project. LOL

Here's my first ever macrame plant hanger!
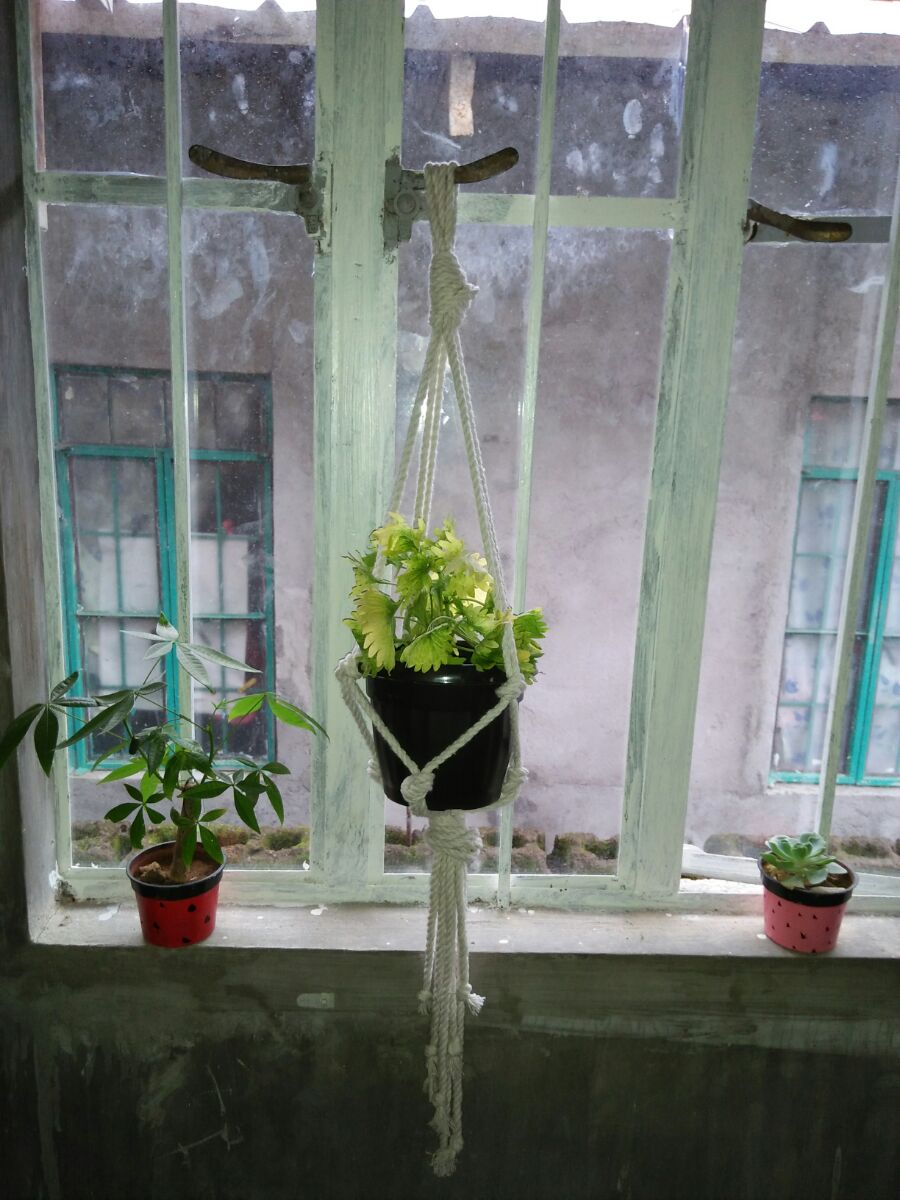

After that, I was able to do other planters quickly. Ta-dah! I hang five planters on my kitchen's window so the plants can get a bit of sunlight. On weekends, I put the plants outside so they can get full sunlight and good 'ol rain water.


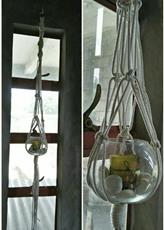
Feeling bold to do other designs, I tried Crafty Ginger's plant hanger design #1. This time, the project needed a hoop. At Wilcon Depot, the silver hoop I bought cost P40.

The project was fun to do since I did several kinds of knots. Instead of a planter, I experimented on using a glass bowl with a candle holder inside. Here's my final project.


Macrame Curtain

I also did a macrame curtain in about an hour. Using Rachel Metz' tutorial, DIY Macrame Curtain, I was able to somewhat replicate her project. 


Lessons on Macrame

  • For me, macrame is therapeutic. Once I got the hang of knotting the ropes, I kinda forget everything else while working on a project.
  • I like macrame since I can see the outcome right away. I don't need to work on it for months before I'm able to see the final project.
  • Macrame uses a lot, and I mean A LOT of cotton rope.
  • I have to be resourceful on where I get my cotton ropes. Among all the ropes I used, I like the one I bought in the market. It's cheaper and softer to use. But, the store had no stock of the rope when I returned to buy more.

Monday, January 27, 2014

The Book Jar


If you're like me who loves to read and hoard books at home, chances are, you have tons of books on your shelves still left untouched. Maybe you've forgotten what titles you own. Books purchased months ago, or even years ago, are left behind the shelf or under the bed, collecting dust.

Before the start of the year, I list the titles of books I would like to read for the new year. I have my list for 2014 until I saw a wonderful inspiration on how to pick the books to read -- by having a Book Jar.

On each piece of scratch paper, I wrote the unread books I have on the bookshelf. Much to my surprise, I had lots of books that are awaiting for me to read them. So far, I have 40 titles on my Book Jar. I feel sorry for these books since I haven't had the chance to open their pages after I bought them.

Now, instead of my annual book list, I will pick one whenever I've finished reading one book. This brings excitement to my book reading addiction.


And today, I picked: White Fang by Jack London. I wrote down the date so I know when I started reading this book. I'm pretty happy with my pick.


Wednesday, April 11, 2012

It's not a Scarf! It's a Furoshiki


Furoshiki is a piece of cloth widely used in wrapping items, especially lunch/bento boxes, in Japan. When I was young, I watched "Japan Video Topics", a show about Japanese culture, and there I learned about this useful and eco-friendly cloth.

Japan Video Topics showed how to use a furoshiki in wrapping different items such as bento box, books, bottle of wine, and even a watermelon. It was so cute, like doing origami. Since then, I wanted to have a furoshiki just to try wrapping items with cloth. I can use a scarf, but I think I should use the real thing.

Thanks to my sister's friend who was in Japan for several months and who just arrived recently. He brought home a furoshiki. My very own.

Here's my first furoshiki-wrapped item (my lunch box) in a basic carry wrap. I got the instructions here.

Otsukai Tsutsumi

Thursday, March 22, 2012

Copper-colored coins


What do you do with those 5- and 10-centavo coins? Leave them in a coin jar or piggy bank? Put them somewhere around the house? Me, I keep them in a small box. After a few years, that small box is brimming with these copper-colored coins.

I thought about what I could do with them since I have accumulated lots of them. I can bring them to the bank but they're not light to bring. While browsing through DIY blogs, I saw pennies used to create a wall art (another one here), decorate a whole wall, and even the floor! I can do the same thing. Not the wall or the floor thing, but the wall art.


Sunday, April 24, 2011

DIY Trail Mix


Summer is officially here. This means O-U-T-I-N-G-S!!! Family outing, company outing, barkada outing, graduation outing, despedida outing, any excuse just to have summer getaway will do.

Our company will be having our own outing too. Aside from thinking about what to pack, I'm faced with what snacks to bring. I'm trying to really lessen my junk food intake but the temptation of that salty bag of chips is just too much for me. I can live a week without junk food but come the weekend, my resolve to eating healthy vanishes. Having to go to an outing adds to the challenge of eating healthy!

Then I thought about bringing trail mix! Trail mix is a combination of nuts, seeds, choco chips (yes!) and dried fruits. To make my own, here's what I bought from the grocery: banana chips, Nips, raisins and unsalted peanuts.

The night before our outing, I will just combine all of these goodies in a plastic bag or container, shake it a little and viola! DIY trail mix!

Wednesday, April 14, 2010

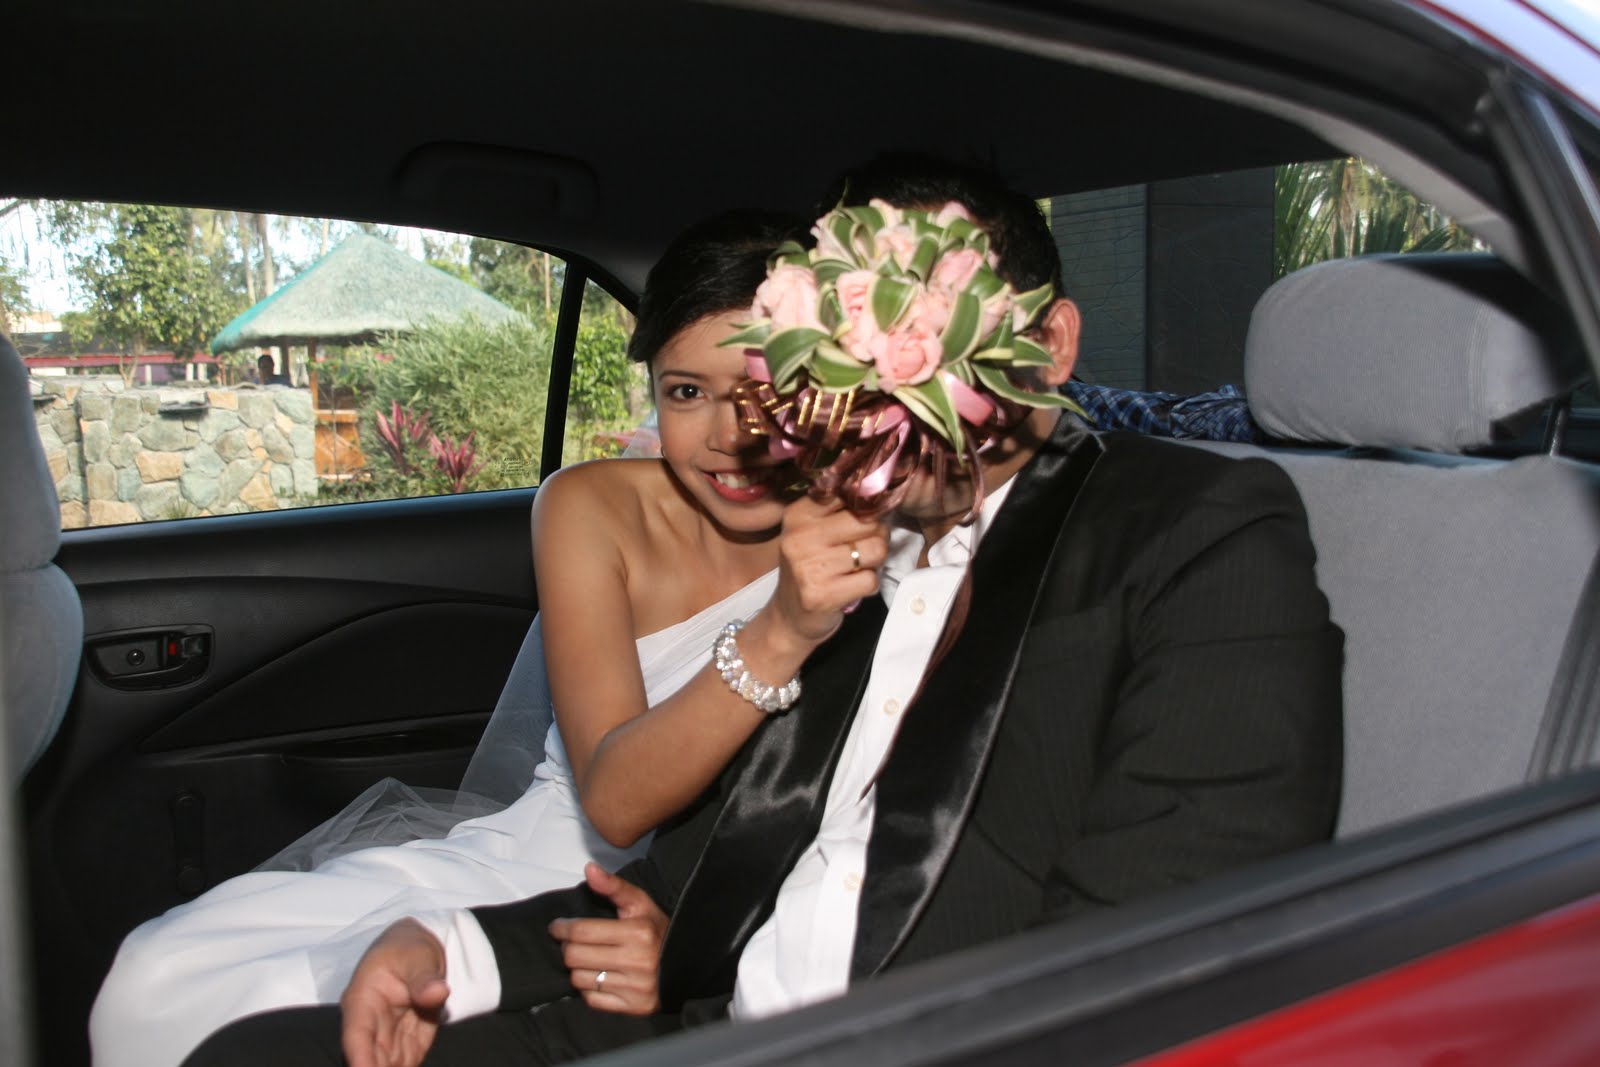
Saving my Bridal Bouquet


I'm not a nostalgic person.

But then again, I realized, I am.

As I was busy wedding planning, I never thought about what I would do to my bouquet after the wedding. I didn't pay any attention if I would preserve it, put it on a glass box, dry/press it, etc.

So now, my bouquet has dried, obviously. And I am now having second thoughts of discarding it. I searched the Internet and found what I could do with my bouquet. I can make it as a potpourri.

Here are the directions which I will follow from tipnut.

Hopefully, I could keep my flowers longer and I could put it in our future home. But for now, my potpourri will be a cute décor in our apartment.

Thursday, April 8, 2010

Cross stitch Project

To do something creative to pass the time away, I decided to do a cross stitch project.

Our Home Economics class in third year high school introduced me to the art of cross stitching. I did a not-so-nice job at my first project. I didn't know how to go about stitching a pink rose. I wasn't able to buy the exact shade of pink which I first bought. And, my classmates and I never knew that cross stitch patterns were available in the market! Toinks!

Since then, I learned my lessons. I have done several cross stitch projects. I did waterfalls, cherubim and graduate on a rocket (never finished).

Now, I'm doing a new project called “Newlyweds”. I got a free pattern from the DMC website. I plan to finish this project before the Cook comes back home. And, hopefully, we could hang it on our future home.

Saturday, February 27, 2010

DIY Furniture

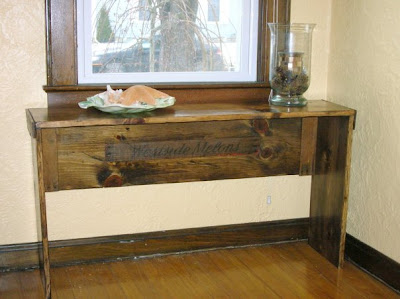
I saw a website called Knock-Off Wood that dares ordinary people to do the extraordinary in their homes -- build their own furnitures!

After looking at what other people did, the bookshelves, tables, cabinets, etc. I particularly like the console in this picture. I'm inspired to take the challenge also. Can I do it? (gasp!)
So now, whenever I see a furniture that I like, I think about how I can do it, DIY mode.
Girl power!

Thursday, September 3, 2009

Body Scrubs, Bubble Baths and Everything Nice

I love body scrubs, lotions, beautiful soaps, and everything smelling nice. As I think about what to give my bridesmaids and friends who will help me in the wedding preparation, I saw DIY projects which I can do and give to my friends. I can have a basket full of these goodies.These projects have the instructions and printable labels too!

Bubble Bath

This DIY project is from Eat, Chic, Drink.

Body Scrub

This body scrub calls for 4 ingredients only. But, I don't know yet where I can buy the Epsom salt.

Tuesday, September 1, 2009

Candy Favor


I told you in this post that I wanted to have a candy buffet where guests will have small bags where they can fill with candies, but if I'm going to be a crafty bride, this is another favor project using candies.

You can get instructions in the Martha Stewart website (of course).

Monday, August 31, 2009

Favor Idea

Here's another favor idea that I am mulling to use. I saw this in a Martha Stewart craft website. It's called “Fabric Scrap Favor Pack”. Obviously, it just needs a fabric scrap. :) We have many of those at home since my aunt is a seamstress. If you go to our house, there are lots of items made from fabric scraps such as pillow/throw pillow cases, table covers, pot holders, etc. So, I do not need to buy a thing for this project.

Problem is, I don't know how to sew, but my Inay does. :)

Tuesday, August 4, 2009

DIY Wedding Ideas

I enjoyed browsing lots of DIY projects for weddings. For a list, check this wonderful website of Stylish Events.


Have fun!

Thursday, July 9, 2009

Candy buffet


Candy buffet, a selection of different candies laid on a table, ala salad bar.

After seeing the wedding pictures of Budget Savvy Bride, I thought it would be nice to have candies as favors. I have a sweet tooth, so it would be nice to see a table full of candies. Lots of different candies (in our wedding colors of course) in clear jars. Each guest will receive a brown paper bag/loot bag wherein they will put candies of their choice. The bag will have a print of some sorts.

As I was browsing the Internet, I saw this how-to guide in creating a candy buffet. Sweet!
Photo from ohnuts.com

Friday, March 27, 2009

Flower Showers from Trees


I have yet to find a reception venue. Having the reception at a garden seems nice. Lots of greenery and flowers. You have sculptured trees and maybe a pond. Cool and natural breeze.

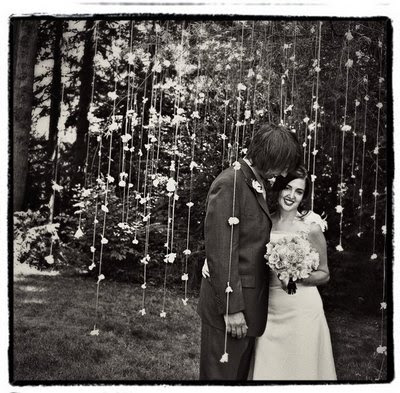
If we have a garden reception, I would like to have flower garlands hanging on a tree.
Like this. See this picture of Eileen and Matthews wedding from One Love Photo. It looks like it was taken from a fairy tale book.

For instructions, go to Once Wed.


Wednesday, March 18, 2009

Love Garland


At a wedding reception, there is a wall, usually the wall behind the presidential table, where the names of the bride and groom are displayed. Maybe this was customary so the guests will know that they are at the right reception venue. :)

Usually, the names are in cut-outs of shiny paper. In Script font.

Here, I found instructions on doing a Love Garland in Style Me Pretty. I could do that for our name display at the reception. It's different and I could do it in advance.

Book ring box


I found this DIY project. A book ring box. Instead of a ring pillow, wedding rings will be placed securely inside the book. You cut a small hole or “well” wherein you will place the rings. For instructions, you can check it out at Once Wed.

How can I cut a "well" in the book? Do we have a tool similar to that in the instruction that could create the well? (think, think, think)

Monday, March 2, 2009

Photo Booth

It seems that photo booths are in a rage at weddings today. Instead of giving little trinkets as wedding favors, a couple could opt to have a photo booth. Guests would fall in line to have their pictures taken in succession and printed afterwards. Sounds fun, right?

I searched the Internet and the rate for renting a photo booth is around P12,000-15,000. You'll have a technician who'll man the camera and printer, props (like feathers, mustaches, etc.)and photo booth setup. You can rent the photo booth for 5-6 hours.

In the bridal show I attended, I received a flyer of a photo/video company which offers a photo booth for only P9,000 for 3 hours of unlimited picture taking and printing.

I'm tempted to rent a photo booth and let the guests take the pictures as their wedding souvenirs. But, companies which rent photo booths are in Metro Manila. So, we have to pay an additional out-of-town charge for the photo booth since we'll get married in the province. Booo-hoo!

Since photo booths are a trend in weddings, I saw instructions on how to DIY your own photo booth! I saw directions from evite:


and instructables...

If we do push through with the photo booth, we'll have to really consider to DIY our photo booth. I think it's fun and more personal that way.

Friday, February 6, 2009

Project Centerpieces

For the month of February, I'll focus on our centerpieces.

I found inspiration of an eco-friendly and cost-effective centerpieces in the Offbeat Bride website.

Books!

I love reading so naturally, I have lots of books at home.

I'll bundle some books and tie with with twine (or used fabric). On top, I’ll place a card. On one side, the name of the table (I'm thinking of putting the name of country The Cook has been to) and on the other side, selected readings about love, marriage and friendship.

I'm excited to start! :)

Thursday, January 29, 2009

Obsessed with Fonts

I said to myself I'll not slave myself over unnecessary wedding details. But here I am, battling on what fonts to use at our invitations.

What font complements this font and that.

What color should I use?

Uh-oh.

Wednesday, January 28, 2009

Flower Power

Since I'm in the DIY movement for our wedding, I'm planning to DIY our flowers, too. I was thinking of buying flowers in bulk at the local market and arranging them with the help of my bridesmaids. We'll just tie the flowers with some ribbons and viola! Flowers for the wedding.

I like roses, so I'll definitely have pink roses for my bouquet. Hand-tied pink roses.


For my bridesmaids, we can tie calla lillies for each lady.


For the mothers, pink or orange mums and as buttonaires, a single pink rose bud.

For the church, maybe some mums and hydrangeas in different colors.


Or sunflowers!


I'll search for other flowers that I can use. But I don't know how much these flowers cost. Note to self: canvas flowers and look for a vendor.

*All images are from the Knot.
 
Free Hit Counter